(Winter 2026)
Rob Roy Cedar Strip Canoe:
● Intro & Station Forms● Building the Strongback
● Cedar Strips
● Stripping the Hull
Building the Strongback
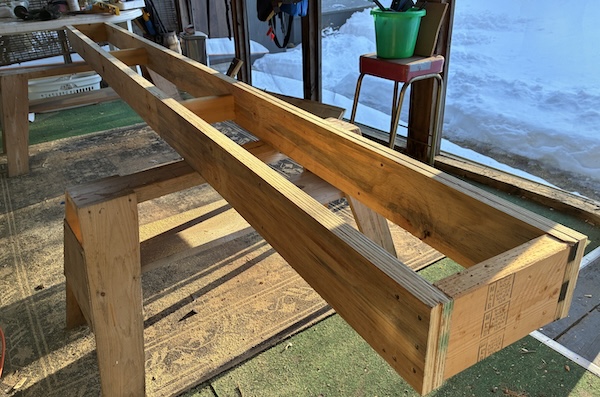
The strongback is the underlying structure that supports the station molds and raises the project up to a convenient working height. It has to be strong enough to hold everything solid and level throughout construction process.
I'll be utilizing a pair of previously-built saw horses and a simple ladder-type frame that I hope will do the job. To keep the frame as straight as possible I'm using plywood strips as opposed to construction lumber.

To make the two 12-foot long sides of the frame, I had the lumber yard cut six, 5-1/2" x 8' strips from a 4'x8' sheet of 3/4" CDX plywood. (I'll rip the remaining piece to use as shelves along both sides of the strongback)
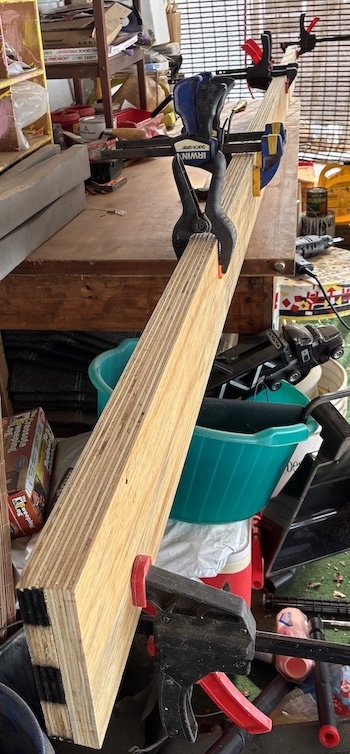
I cut two of the strips in half to make four 4-foot sections, then laminated an 8' and a 4' section to 4' and 8' section to make a 1-1/2" x 5-1/2" x 12' long beam.
I repeated that process to make the other side beam then joined them with 12" scrap 2 x 6s at each end and some spacer/braces along the center.
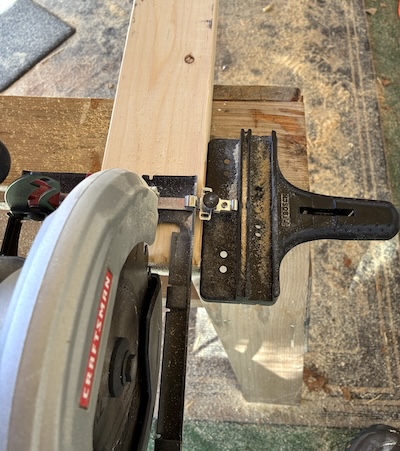
To make the "steps" of the ladder which will serve as the station mounts, I first ripped an 8-foot, 2x4 down the center with a skill saw (using a rip fence attachment), then cut the 2 resulting pieces into 12" segments.

Here they are sitting roughly in place. Eventually they will be positioned to space the station forms exactly 12 inches apart.
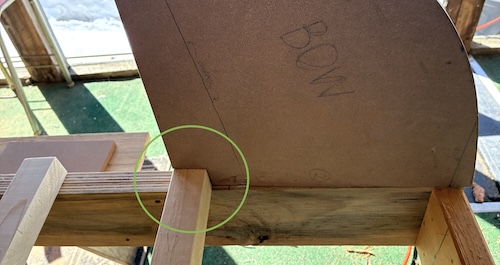
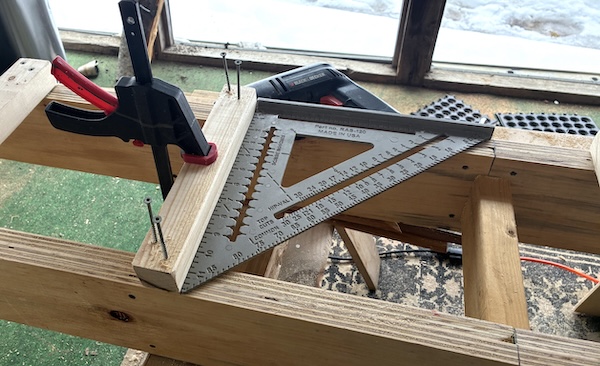
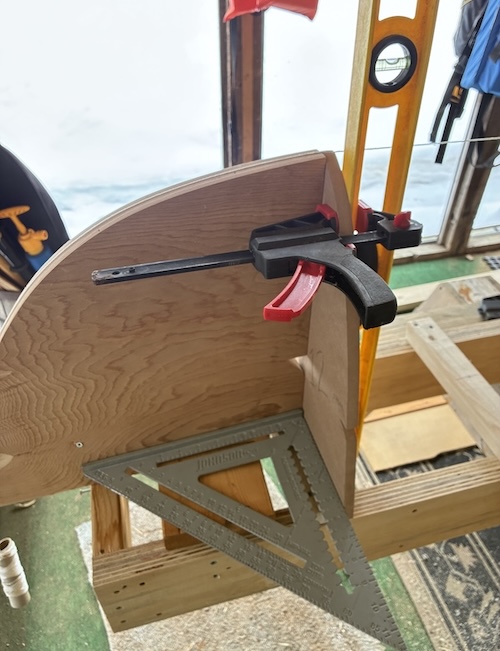
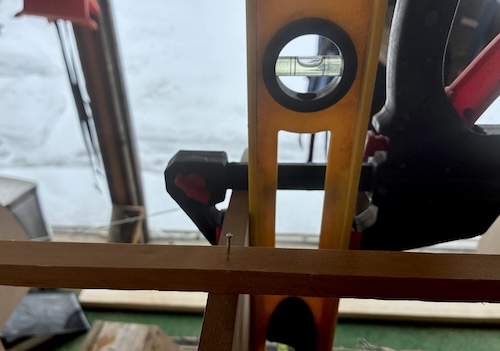
A notch had to be cut out of each stem mold to clear the crosspiece. (The mold is resting here temporarily for the photo – it will eventually be located on the centerline.)
After ensuring the sawhorses and strongback were level, I secured them to each other and to the floor then began permanently attaching the components. All were checked and double-checked for squareness and plumb.
The location of these mounting boards and the position of the station forms are specified in the plans.
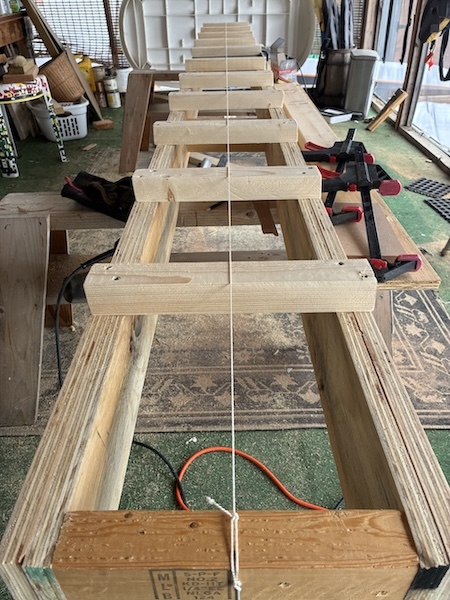
A tightened string was used to mark a center line on the cross pieces.

This suspended, half-filled paint can provided tension on the line.

I set up the fore and aft end forms first, starting with aligning the station form centerline with the centerline on the crosspiece.
Then the stem form at each end was squared up and attached with screws through the adjacent station form and angled into the strongback.
A centerline string was stretched between the two end stations and the remaining forms were attached.
Then each form was check for vertical alignment and nailed to a temporary batten.
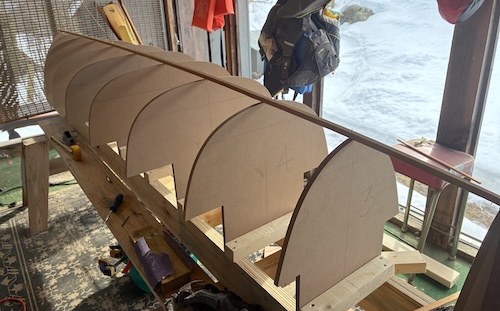
The batten runs the full length of the canoe and holds the forms in vertical alignment while the initial strips are added.
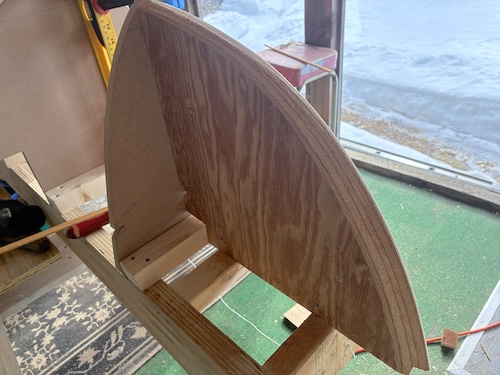
The stem forms require a rolling bevel that comes to a point at the bottom and tapers up to a curve at the top. I used a Shinto Rasp and orbital sander to form the bevel. Final adjustments will be made as the wood strips are added.
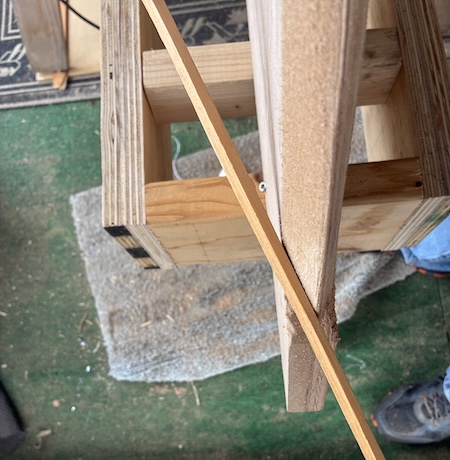
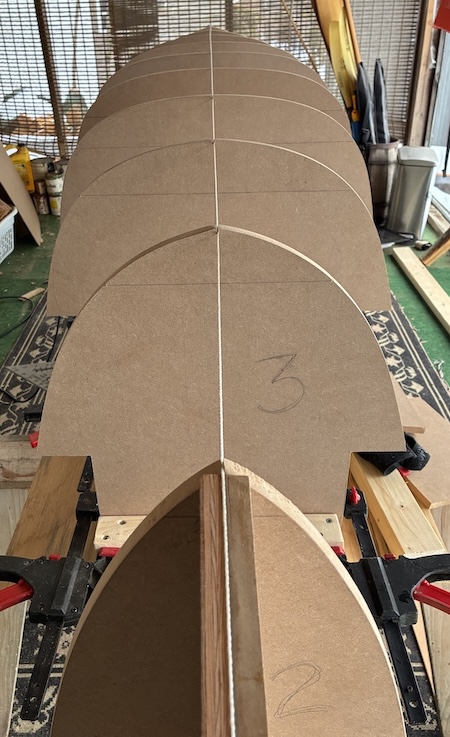
The angle of the strips as they come around the last form and attach to the stem determines the angle of the bevel. Here a temporary batten is held in place to simulate the approximate angle.
NEXT STEPS:
I'm all set to start the cedar stripping process except… I don't have any strips or cedar!
My primary issue is that I currently don't own a table saw to cut the strips myself (and not sure I have much use for one beyond this project). So my options seem to be to rent or borrow a saw, find someone willing to help, or purchase precut strips from a supplier. I guess I need to get busy and do some checking around.