(Spring 2026)
Rob Roy Cedar Strip Canoe:
● Intro & Station Forms● Building the Strongback
● Cedar Strips
● Stripping the Hull
Stripping the hull
This is the fun part! I'm finding that I'm learning something new with each new strip – improving technique, getting tighter joints, and getting a system down.

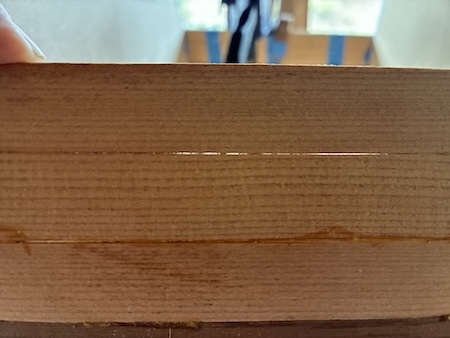
Most of the strips are a solid light color but I have six dark strips with a nice grain pattern. I decided to put those near the top where they'll be more visible. I'll be putting one more dark strip above the thin accent strip and the rest of the hull will be mostly light strips. I also have a lot of shorter solid medium dark strips that I may use in some sort of pattern near the bottom.
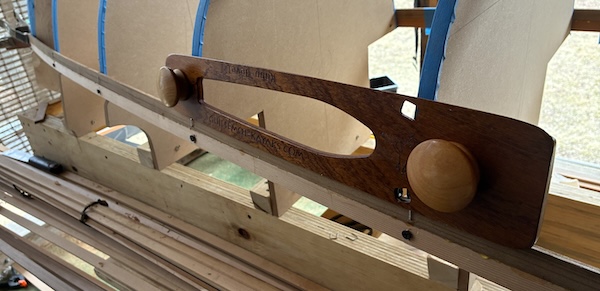
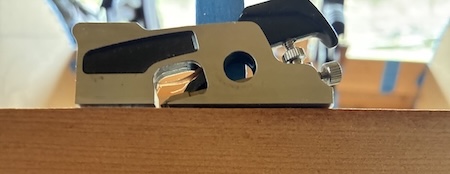
Here you can see how the Robo-Bevel tool works. By leaning against the forms as it is slid along, it picks up the angle of the next strip and tilts the installed shoulder plane to cut at the correct angle to accept the next strip.
It took a little while to get the hang of using it but after a few strips, it has become one of the most enjoyable parts of the process. And speaking of the process, the following photos illustrate the steps I employ for each strip installation.

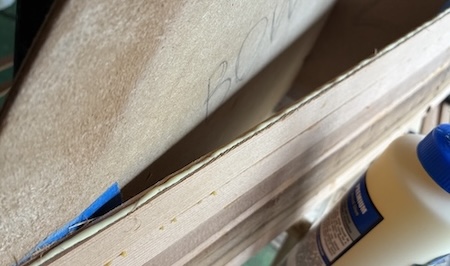
I begin by putting small pencil lines along the top of the current strip to help monitor the beveling.

Each pass of the Robo-Bevel planes off a bit of the angle and as it does, the pencil lines begin to disappear. No pencil marks indicate the bevel has been planed completely across the full width of the strip.
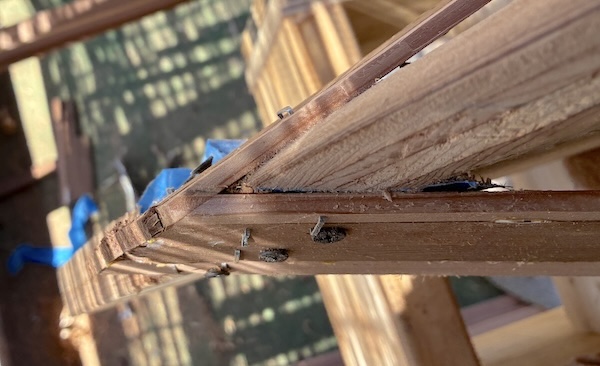
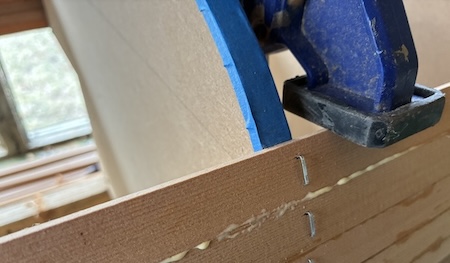
The ends of the strips are handled as shown here. The first strip attached at this level is trimmed back to allow the opposing strip to lie flush against it as shown.
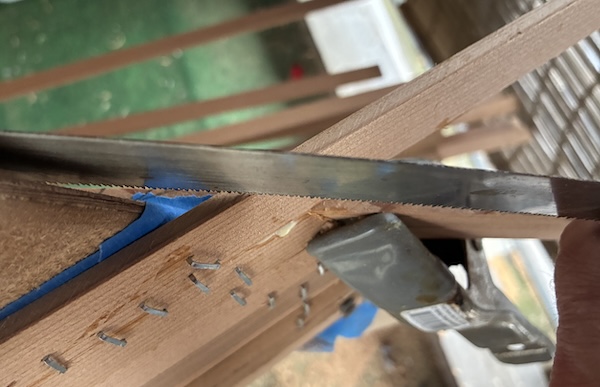
To trim back the first strip, I sight down the path the opposing strip will take, then make a cut slightly outside the line.
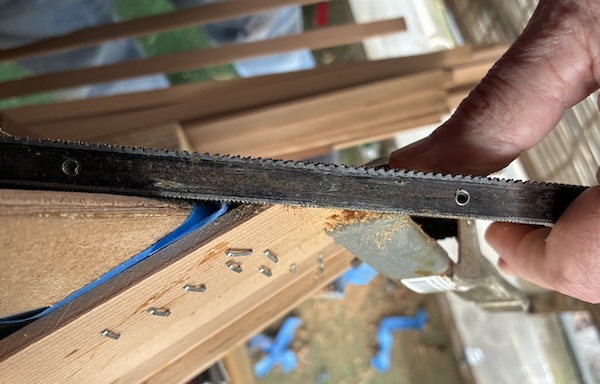
Using a Shinto rasp I file back the stem form and the end of the current strip to create a smooth path for the next strip.
Before final installation I carefully sight along mating surfaces to look for any imperfections.
I pop the shoulder plane out of the Robo-Bevel and use it as a standalone mini-plane to clean up small issues.
Once all is set for the new strip installation, I run a bead of Titebond 2 glue along the edge of the existing strip. (Taping up half of the glue tip as mentioned earlier works perfectly in controlling the glue flow.)
Starting near the center form, I set the next strip in place and clamp it down with a bar clamp. I use my little clamps at various places along the length of the strip to loosely hold the remainder in place and keep it from flopping around.
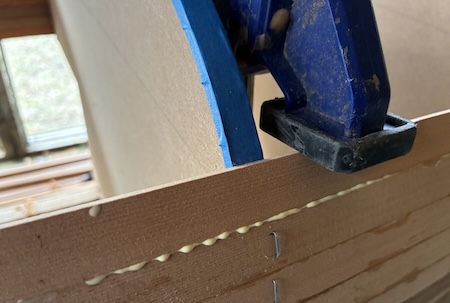
After making sure the strip is aligned and tight against the previous strip, I staple it to the edge of the center form.
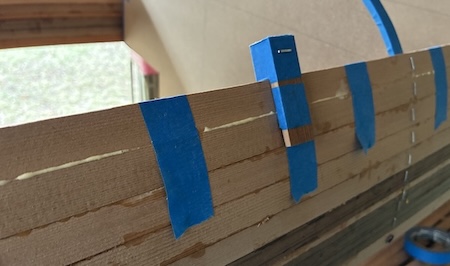
Between the forms I keep the strips tight and aligned with 3 strips of masking tape wrapped up from the back, over the top and pulled down tight. Then a small clamp is placed over the center tape strip.
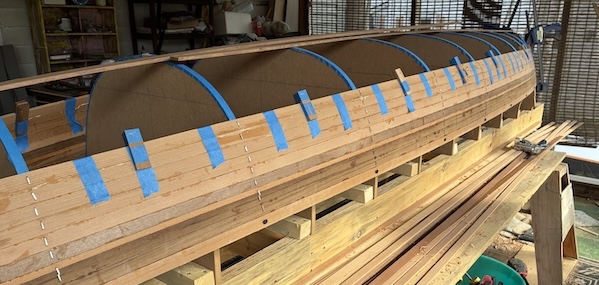
I then move along repeating the same procedure at each form. Here is how the completed side looks as the glue is setting up.
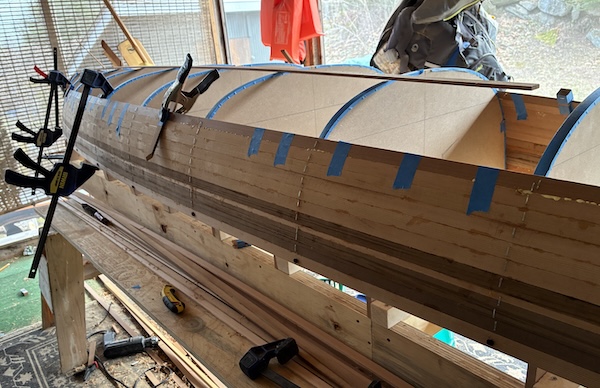
Whenever the weather cooperates I step out and add a few strips. I used 2 of the shorter dark pieces to add another accent strip. The spring clip is holding 2 taped strip scraps to help align the butt joint while the glue dries.